
Last updated on February 26th, 2024
In the past, I posted on Top Car Wash Tips for a Flawless Finish! This post will focus on how to transform your vehicle with Top-Tier polishing methods!
Most people often skip the buffing and polishing steps. Buffing and polishing intimidate many individuals, and it can take a significant amount of time to perform and perform well.
If I were to consider the proper steps for detailing a vehicle, I would say you should wash, dry, wax, and buff your car in that order.
Polishing a car is often only necessary if you have to perform deeper surface scratches or other paint corrections. I suggest you leave polish work to a professional, especially if you feel uncomfortable doing it.
What is the difference between Buffing and Polishing?
When people discuss buffing or polishing, they use the terminology interchangeably, but this must first be clarified. I do both for the same reason: to enrich your vehicle’s painted surface and finish.
Still, the definition of buffing according to Merriam’s Webster Dictionary is a transitive verb meaning to polish or shine. Polishing is a term from the same source, Merriam’s Webster Dictionary. It is also a transitive verb that means to make smooth and glossy, usually by friction, to bring a highly developed, finished, or refined state.
If done correctly, polishing will create your car’s vibrant, intense, glossy look.
Technique for Buffing & Polishing with Proper Pads & Compounds.
I polish a vehicle using a specially designed pad, polishing compound by hand, or my machine polisher specifically designed for cars.
You can use a lightly abrasive liquid compound with little or no abrasives to remove slight swirl marks caused by washing and drying a car. I use it for minor scratches and surface contaminants such as oxidation. Body shop businesses often polish and buff for smoothing paint, overspray, orange peel, bumps, or ridges on painted surfaces.
I polish with a compound that contains more abrasives in the manufacturer’s formulations. Chemical compounds help restore oils to the paint. Polishing often eliminates finer scratches, swirl marks, and acid rain spots.
When done correctly, the buffing or polishing process brings out rich colors and shine from the paint on your car. When buffing or polishing your vehicle, you must remember that the paint correction methods are only used for the top coat of paint, known as the clear coat. The clear coat of paint is a thin layer and could be easily damaged if not performed correctly.
Another thing to note is that both methods require different types of buffing or polishing pads and varying degrees of compounds, whether by hand or machine.
Resources for learning how to Buff and polish your car.
I suggest you research the internet before buffing or polishing your car. Watch some YouTube videos during the research process. Do not gather all of your information from one resource.
It would be best to experiment by buffing or polishing on less conspicuous surfaces of your vehicle. Search for articles that show varying opinions from people or organizations using different products for this work.
Hundreds, if not thousands, of products, are on the market for buffing or polishing your vehicles.
I started my detail business late this past summer. Before starting on my first customer-pay vehicle, I watched hundreds of YouTube videos. Also, I practiced a lot on my cars. I liked and subscribed to YouTube channels for “Pan The Organizer” and “IMJOSHV.” They both do an incredible job with product reviews, tips, tricks, and tutorials.
Affiliate Marketing Disclaimer: I am an affiliate marketer with links to online retailers on my website. When people read what I have written about a particular product, click on those links, and buy something from those links, I earn a small commission from the retailer at no extra cost to the buyer.
Equipment I use to Buff, Polish, and Transform Vehicles.
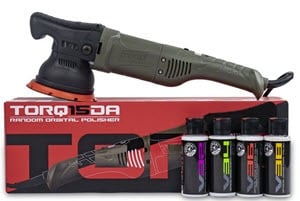
One of the first major purchases for my detail business was the TORQ Machine Polisher. It is considered “the hottest new brand in the polisher market.” It is a 15MM long-throw random orbital polisher. I performed several days of research, reading hundreds of reviews from multiple internet resources, and waited a month before purchasing it.
My polisher came with three premium Hex-Logic pads for different cutting or polishing levels. Also, it came with four polishing compounds for varying cutting levels.
I enjoy the power of this polisher, but I find the cord is always in the way. I used the polisher on a couple of jobs despite it having a short power cord. The vehicles I used the polisher on exhibited a deep luster and shine. I was extremely pleased with my results, and so were my customers.
My birthday was in October, so I determined that the buffing, polishing, and waxing I was doing in my business warranted something more versatile. I received a battery-operated Ryobi ONE+ 18V, five-inch, Variable Speed Dual Action Polisher.
With this polisher, I am using a Ryobi ONE+ 18V Lithium-Ion 4.0 Ah Battery (2-Pack) with an 18V Charger.
These polishers do a fantastic job, produce excellent results, and are significant investments in my business.
About My Detail Business & the Steps to Buff or Polish a Car.
I performed much of my work late in the summer and fall of 2022 on newer model-year or garage-kept vehicles, so those cars were in excellent condition. They still took me several hours because I thoroughly detailed them inside and out.
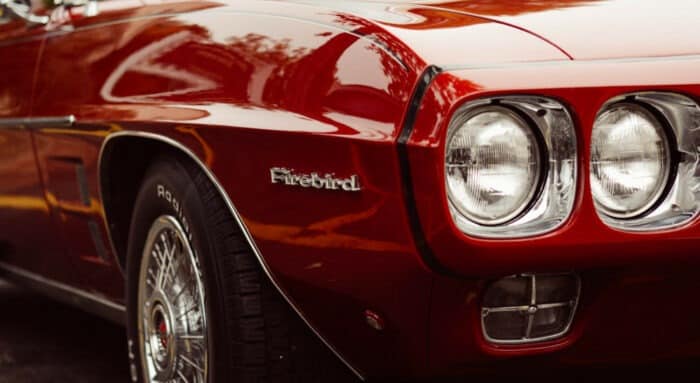
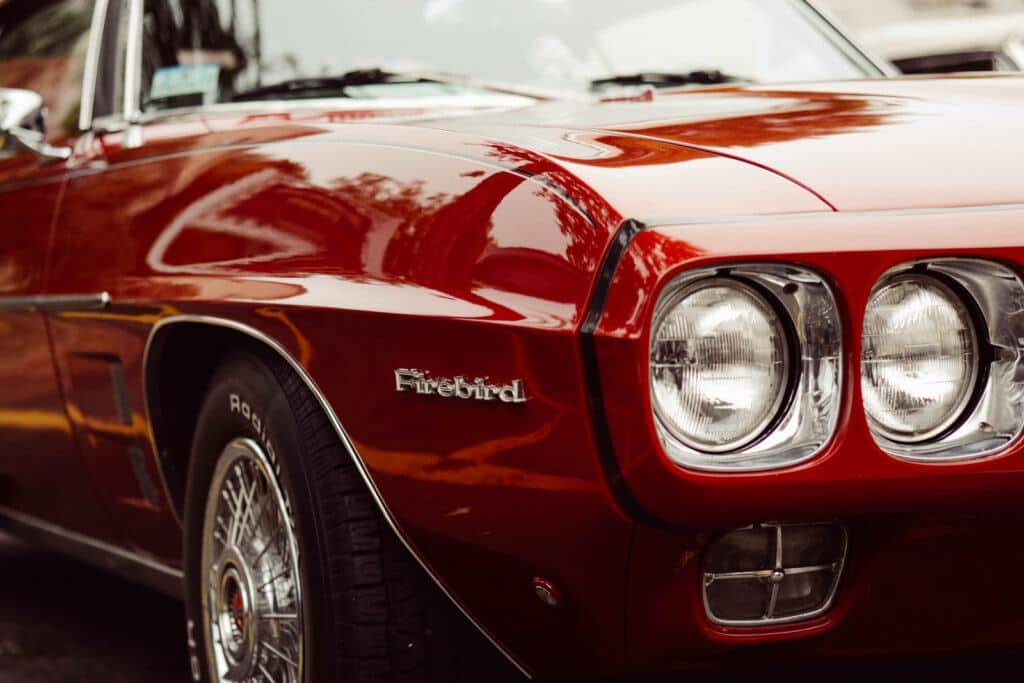
I did accomplish some paint corrections on a 2022 Mazda CX5, which you can see in the picture below.
Also, I used the polishers on the hood of my truck to correct some scratches from stone chips and bug guts.

When I learned how to transform my vehicle with Top-Tier polishing methods, I began with the least aggressive polishing pads and compounds and worked to more aggressive ones.
Below are my steps for buffing, waxing, or polishing a vehicle. I got them through my research on the TORQ Machine Polisher.
Below is a video from the Chemical Guys, showing the steps and products you can use to transform your vehicle with Top-Tier polishing methods using the TORQ Machine Polisher. The polishing steps are underneath the video.
How to transform your vehicle using the TORQ 15 DA 15MM Long-Throw Random Orbital Polisher.
Earlier in this post, I mentioned the polishers I have for my detail business, and I have since added a new micro polisher to my arsenal for smaller detailing areas. It can be used on headlights and areas of the vehicle where it is not easy to get a 3″ or 5″ polisher access. Recently, I purchased a Maxshine M0312 V2 Mini Cordless polisher. It includes pads sized from 1″ to 2″ in diameter. It also includes a long shank extending into a vehicle’s tight, narrow spaces.
I use Chemical Guys V-Line compounds and polishes, pad conditioner, and cleaner on all my pads for polishing, buffing, and waxing. My Chemical Guys Torq polisher uses 5.5″ diameter pads. The Hex-Logic 5.5″ pads are durable and easy to clean from the Chemical Guys. The following kit includes all the pads needed for polishing, buffing, and waxing: Hex-Logic 5.5″ pads. Below are the pads, conditioner, cleaner, and cleaning brush to make your pads last longer.
| Chemical Guys Hex-Logic 5.5″ pad kit comes with a Polishing Pad Cleaner. | 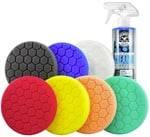 |
| Conditioning Brush To Restore Foam Buffer Pad | 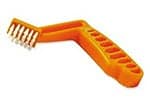 |
| Car Polishing & Buffing Pad Conditioner | 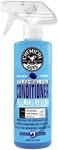 |
Transform Your Vehicle with Top-Tier Polishing Methods by Following the Steps Below:
- Tape areas of the car where you do not want the polishing compound to attach because it will stain the plastic trim.
- Shake well and apply four to five drops of V36 to the Orange Pad.
- Prime the pad with Pad Conditioner.
- Dab product out evenly across a two-square foot section.
- Turn the machine on the surface to speed setting one or the lowest setting to spread the product.
- Increase speeds to five, six, or high speed and use moderate pressure.
- Work an area in two to three passes until the product becomes clear.
- Examine your results. If you are satisfied with the results, proceed to step 10.
- If you are unsatisfied with the results, try using V34 with the Orange Pad; if you are happy, proceed to step 10.
- If a more aggressive approach is needed, switch to the Yellow Cutting Pad.
- Refine finish with a white pad and V38 Final Polish.
- Work until optical clarity is achieved.
- Remove residue with a clean microfiber towel.
Conclusion
A good rule of thumb is to allow the pad and the compound to do the job. You need not apply much pressure when transforming your vehicle with top-tier polishing methods. It is best to have patience, persistence, time, and suitable materials.
Since starting my automobile detail business, I have buffed, polished, and waxed numerous vehicles. I find detailing work extraordinarily gratifying, and you might as well.
Find a professional if you do not want to or do not think you have the knowledge or experience to buff, wax, or polish your car like a professional.
Thank you for visiting my website. Please leave comments, tips, or questions in the comment section below. I will respond.
Wow! Your detailed directions are organized, clear, and comprehensive! Most importantly, your enthusiasm for your work and enjoyment with the results of your detailing are contagious. I’m ready to try the processes of buffing and polishing my vehicle. I hope that the final result in the finish of my car is as clear as your instructions! I’m looking forward to reading a discussion from you, Matt, in the future, on how to fill and correct the small nicks in the finish of my car! Thank you!
Thank you, Sue. I appreciate your comments and thank you for returning to my website.
I will write on the topic you are requesting soon. Please watch for other articles that might interest you, and I will update you once I post articles about making minor paint corrections.
Regards, Matt